It was not too long ago that the thought of tackling the Thanksgiving Turkey sounded like too much of a responsibility. After doing a lot of reading, I've come to realize it only takes a few simple steps and a few key facts to keep your turkey from being a dry mass of tough meat.
Here are the key tips:
- Prepare the turkey the day before with a dry brine
- Use a thermometer to prevent the turkey from overcooking
- Rest your meat before cutting
If you can successfully accomplish these three things, you'll be well on your way to a better turkey. So let's talk through some of the details!
First, make sure your turkey is thawed in plenty of time. The packaging should provide you with the information, but you generally need 24 hours per 4 pounds of turkey. Alternately, you could buy a fresh non-frozen turkey (which is the route our family typically takes).
Second, dry brine your turkey the day before you plan to cook. It's best to prepare it so that it has a full 24 hours to brine, but any length will help. You'll need: a turkey, about 3 Tablespoons of salt (I use kosher), a large bowl, and plastic wrap. Here are the simple steps:
- Open your turkey and place on a prepared, flat surface. Make sure you're using a surface that you can properly clean, or a surface that can be disposed of.
- Remove the neck and giblets and save for gravy if you wish.
- Dry your turkey inside and out. I use paper towels and dispose of them without allowing them to contaminate anything.
- Rub the inside cavity of the turkey with 1-1/2 Tbsp of salt. Make sure you've coated all the surfaces.
- Carefully separate the skin from the turkey. It can be prone to tearing, so take your time. Rub about 1/2 Tbsp under the skin, directly onto each breast and 1/2 Tbsp between both legs. If the skin happens to tear, take a wooden toothpick and pull the skin back into place. Push the toothpick into the edge so that it secures the skin.
- Place your turkey in a bowl and wrap completely in plastic wrap. I place the wrap directly onto the skin so that it's completely covered and also try to seal off the bowl.
- Place the bowl and turkey in the fridge to sit until ready for cooking!
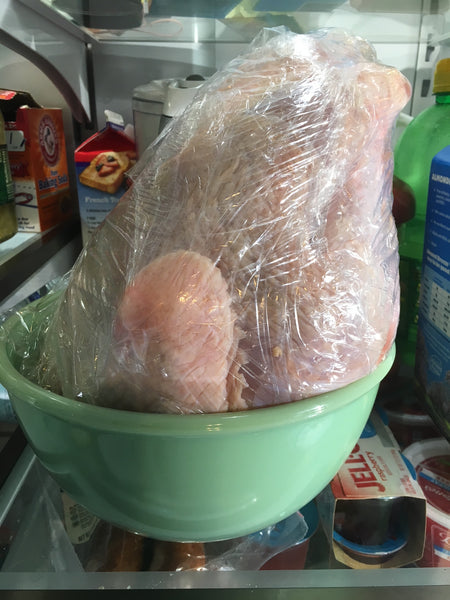 Real life picture, y'all! Jadeite to the rescue!
Third, you need a thermometer to monitor your turkey. It's important to not overcook your turkey. If you're cooking in the oven, you can use a standard thermometer and adjust it so the gauge can be seen from the oven window. My family typically uses a separate turkey roaster, so I use my Taylor digital thermometer. This is great, inexpensive option and can be set to beep when your turkey has reached the appropriate temperature. The thermometer should be placed in the leg/thigh joint to measure the temperature and you're turkey will be cooked at 165 degrees F. Once the turkey has reached this temperature, the turkey should be removed from the oven or roaster and allowed to rest (we'll cover that next). Each turkey should come with directions based on weight, but 325 degrees is the typical cooking temperature and times will vary based on the weight of the turkey. In any case, never let the turkey cook past 165 degrees. Before going in the oven, brush the turkey with melted butter and sprinkly with salt and pepper. Cover the turkey loosely with foil and add 3 cups of chicken broth to the bottom of your roaster. Then cook as directed by label.
Finally, it's time to rest the turkey once the temperature has reached 165F. This step is often left out and is so important to allow the juices to return to the meat. To rest the turkey, remove it from the oven or roaster and place on a large platter or in a separate dish. Cover the turkey and dish with foil and let sit for 20-30 minutes without disturbing it. After this time, you are free to carve away!
I admire those who will do a full turkey…this girl buys a ham! LOL Great tips!!